After discovering Rocrail and saw its installation, we will immediately see how to declare a new locomotive.
Once this is done, we will not be very far from what our ecos center can do !
First, you have to set the locomotive on your Ecos.
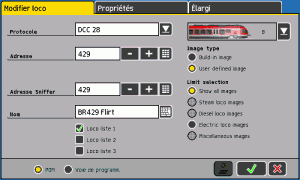
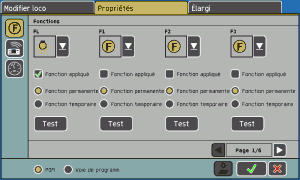
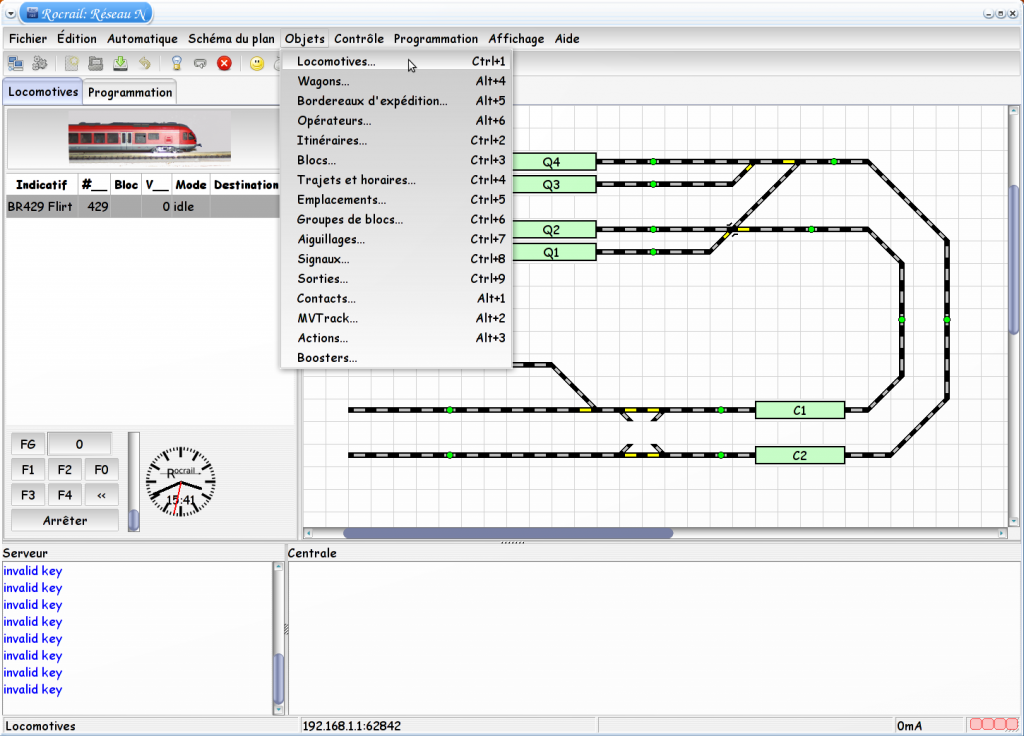
From the menu “Object”, which contains a list of all network elements that we can declare we select “Locomotives.”
A window with several tabs will open and we will inform each of these tabs to properly add our locomotive. The settings you must enter ; must match the setting on your station (for us ecos).
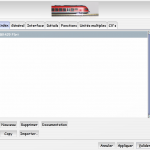
The first tab allows you to list the locomotives that you reported. This is where you add your first locomotive by clicking on the “New” button.
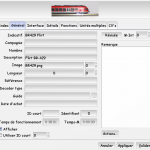
In the second tab, give you the information you want (free data) to identify your hardware.
- Attention, the field “code” must contain exactly the same text as stated in the ecos.
- To set an image (as in catch), you must double-click on the area that is located above the tabs (again, where is the picture of my train). Supported formats are: PNG, GIF and XPM (it is recommended to use the PNG). The image size should be 230 × 80 pixels maximum.
- The length field (if it is given) can be used by software to verify such a train or not more than one canton. The field must be defined in inches or centimeters (use the same unit everywhere !).
- To the right of the field length, you can specify the number of cars making up the train. This value, when filled, is also used by the software.
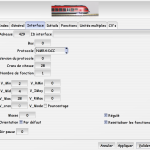
Finally, the tab is “Interface” is used to define the properties of the decoder board in the locomotive. You will define the address, protocol, the number of functions…
Rocrail offers three speed measurements: in “speed steps”, in km / h, or percentage. This is why we must indicate the number of notches of the decoder. In my case I’m DCC28.
Finally, you can define 3-speed fast way and 3-speed curves. Vmax: maximum speed; VMID: approach velocity, Vmin: minimum speed. For example, when the train traveling at a speed “V” into a township in which he must stop and it will speed VMID upon entry in the township, then the speed Vmin, and finally s’ stop. We will see that these speeds are not very useful because we can define specifically for each canton.
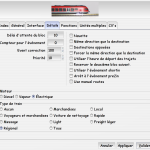
In the next tab “Details”, I suggest you specify only the type of engine and type of train. If you enter eg “electric”, your train will go in the townships electrified.
We will see later how to use the different properties found in this tab.
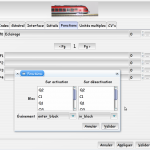
In the “Features”, you can list the features of your train. Indicate in the first field the text of the function (Phare, lighting, sound doors …). You can enable / disable one or more events. Number (right wording) is the number of the event. Example: You can turn on the lights at the entrance to the garage in a block “garage”.
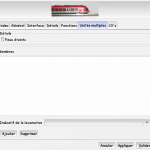
The tab “multiple units” involves harnessing more locomotives together.
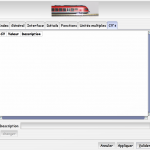
Finally the tab “CV” to list the values of CV known to Rocrail. You can set a label for each.
Now you can add your entire collection.
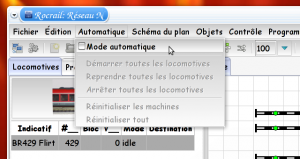
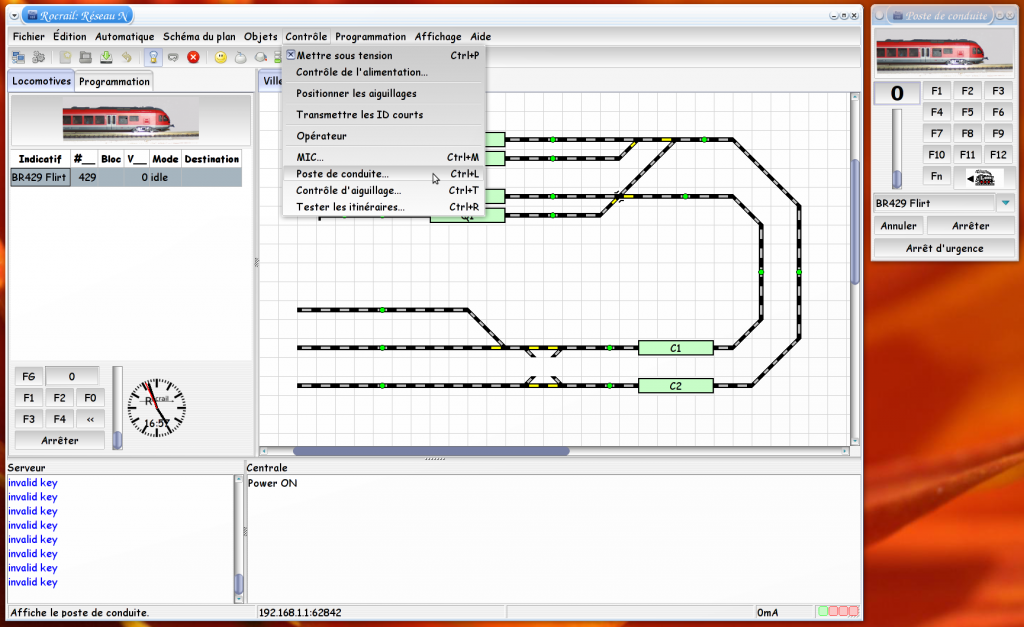
We will now see how your drive train from Rocrail. After making sure that Rocrail is in manual mode, turn the plant.
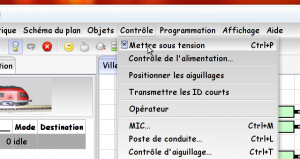
It only remains to show the driving position if it is not present. Then do some tests. The cursor can change the speed of your train, you have the function keys, and the key to reverse the train.
To you to try!
Be careful, I recommend having the button “emergency stop” on hand! Especially if you, like me, a network such as “terminal”.



4 Responses to Locomotives adding on Rocrail