I continue to work on the project. I prepare the rail track installation.
Before, I have to define the area where I have to dectect the train. We call this the retro-signalisation. It exists several technical solutions :
- power consumption detection
- infra detection
- magnetic detection
The better and most reliable is the power consumption detection. We isolate a rail (one side is enough) and use an electronical module.
I have chosen the modules RM-GB-8N de LDT.
We have to be able to stop a train so as to permit to an other train to continue ; or only because there is a train in front of… When the train is stopped on the track, we have to avoid to stop on a turnout ; as a car can’t be stopped on the middle road cross.
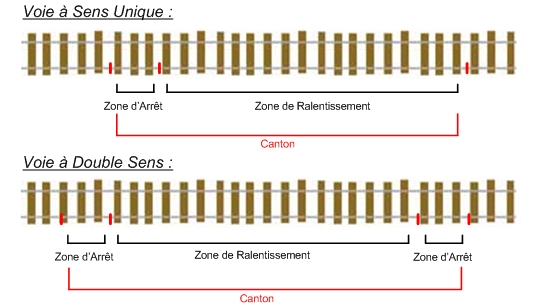
We call this area “cantons”. So the minimal size of a canton is the maximal train length.
I have splitted each canton in 3 blocs ; an area to decrease the speed, and a stop area.

The bloc size has to be enough to detect or stop a train.
In a station, as the train drives with a low speed, we can reduce the bloc size.
The bloc size and the position depend on the max speed and the precision needed to stop the train.
I have cut the both sides. Even if it isn’t needed, I prefer to anticipate.
Here, you can download the documentation to plug a S88 module.
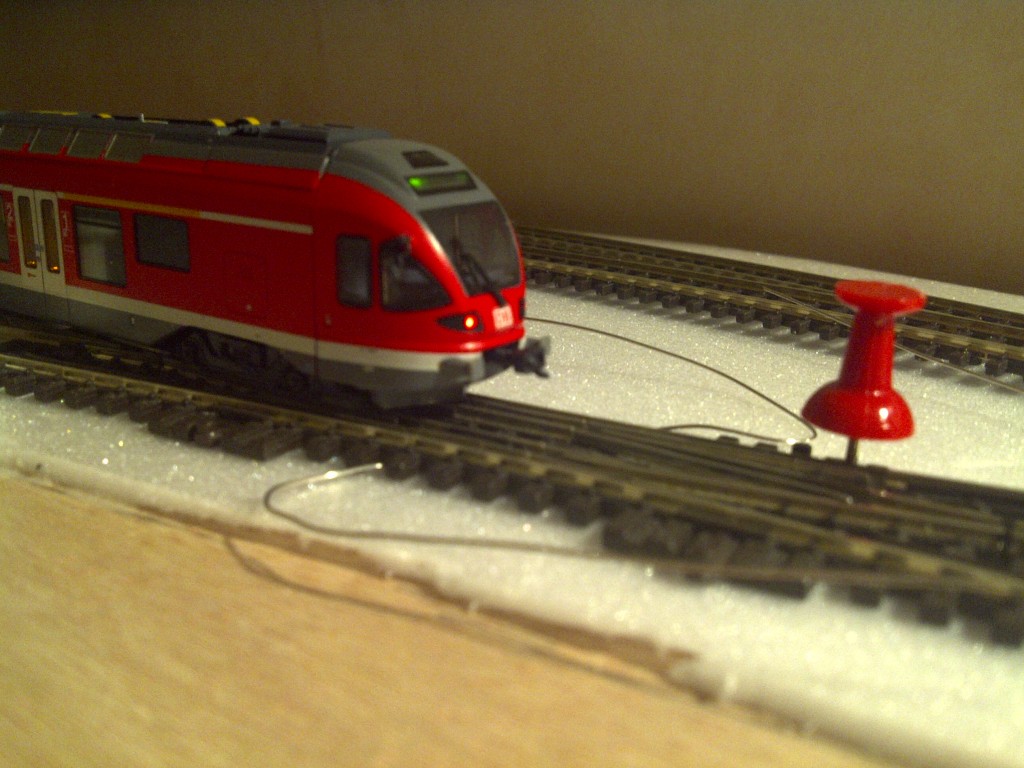
I have used a depron layer fixed with wood glue (mixed 50% of water).
I have started to fix the curves. I have used some nails whom I have cut the head to be sure that my curve can’t move !
My turnout aren’t still fix since I haven’t mounted the motors.


9 Responses to Track installation